delicious inspiration and strategy on
food for people and the planet.
Work with Rooted Food to grow…
-

Clarity
Nutrition and sustainability recommendations clearly communicated. Learn what changes truly make an impact, and how to transition your organization to a healthier future.
-

Creativity
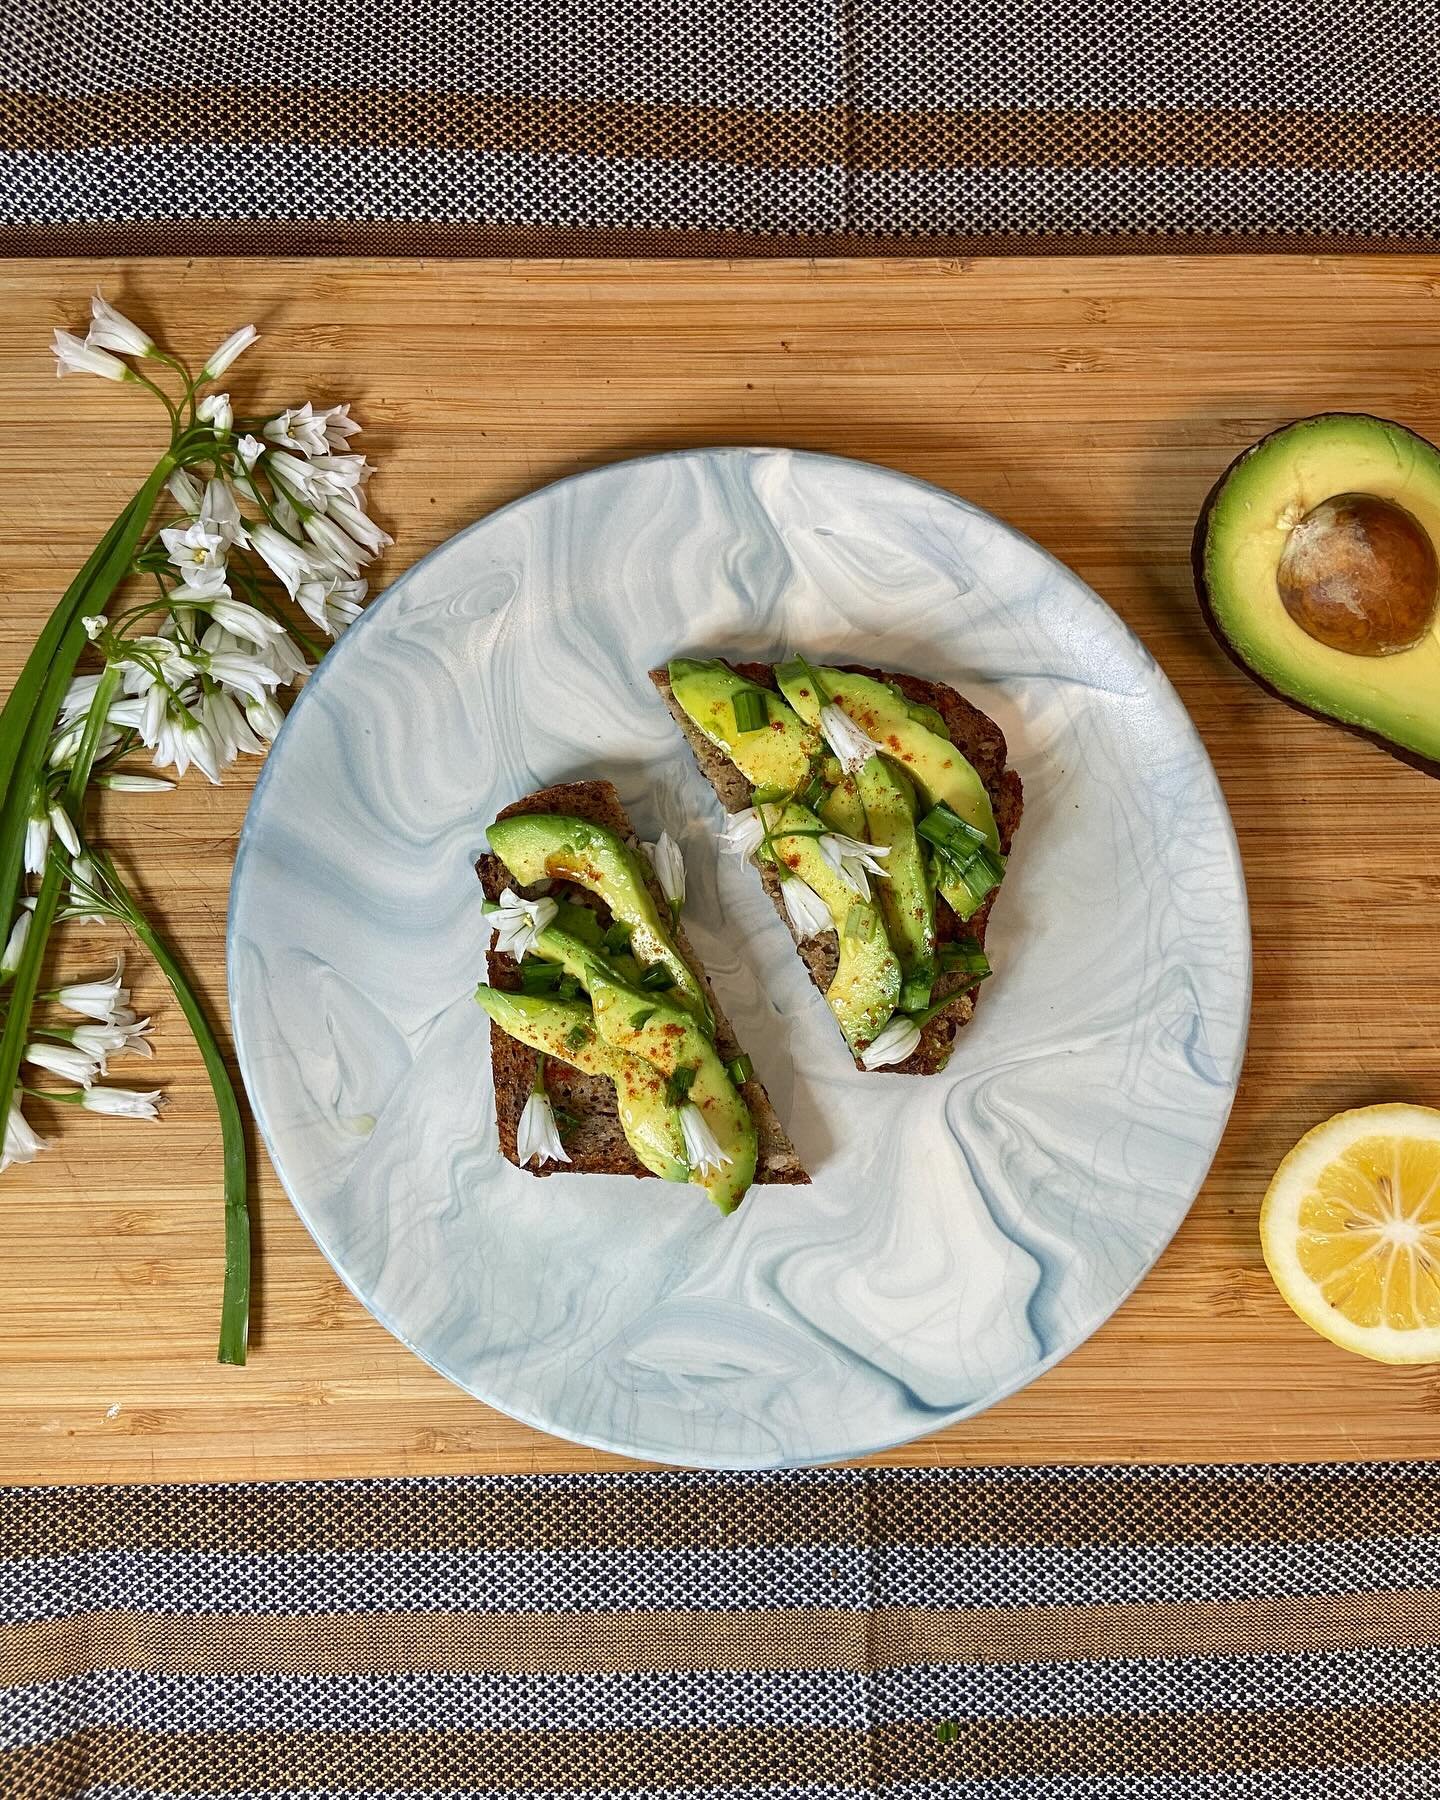
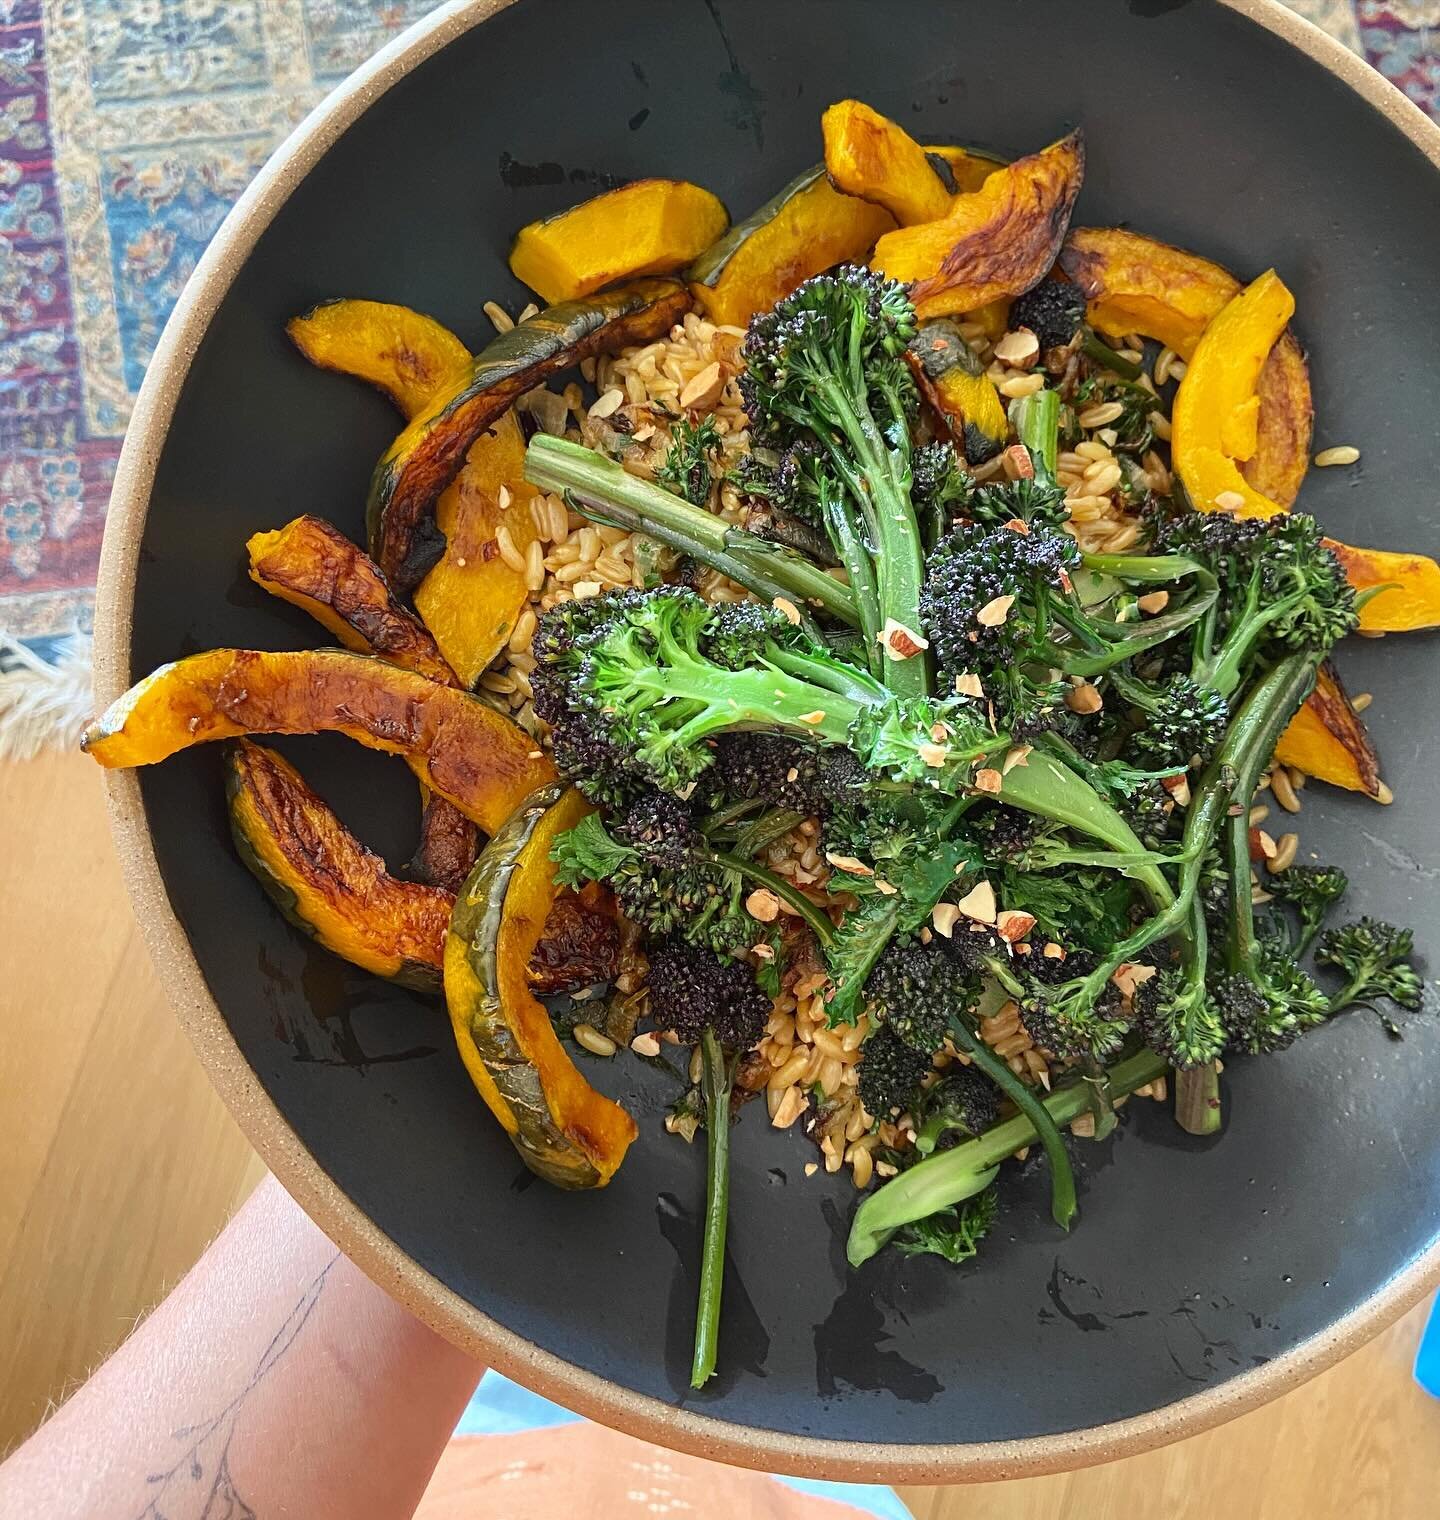
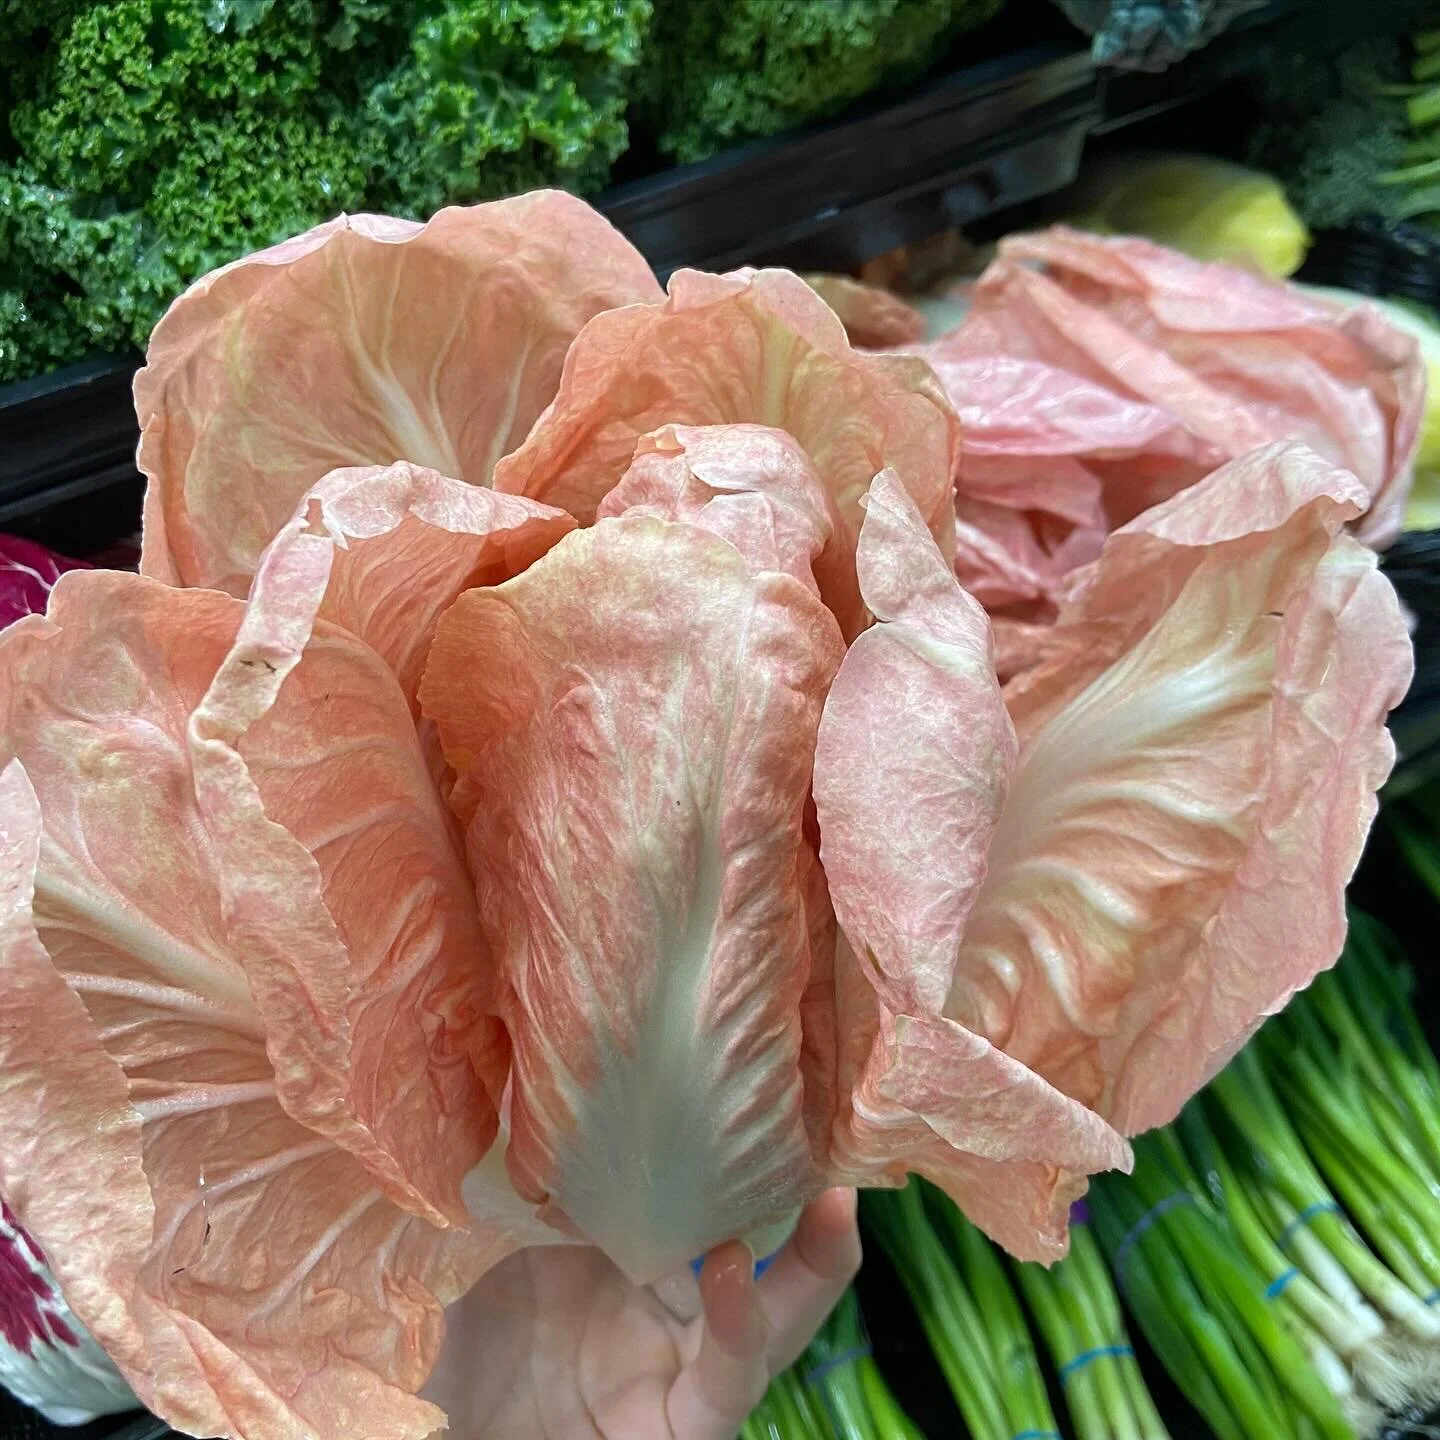
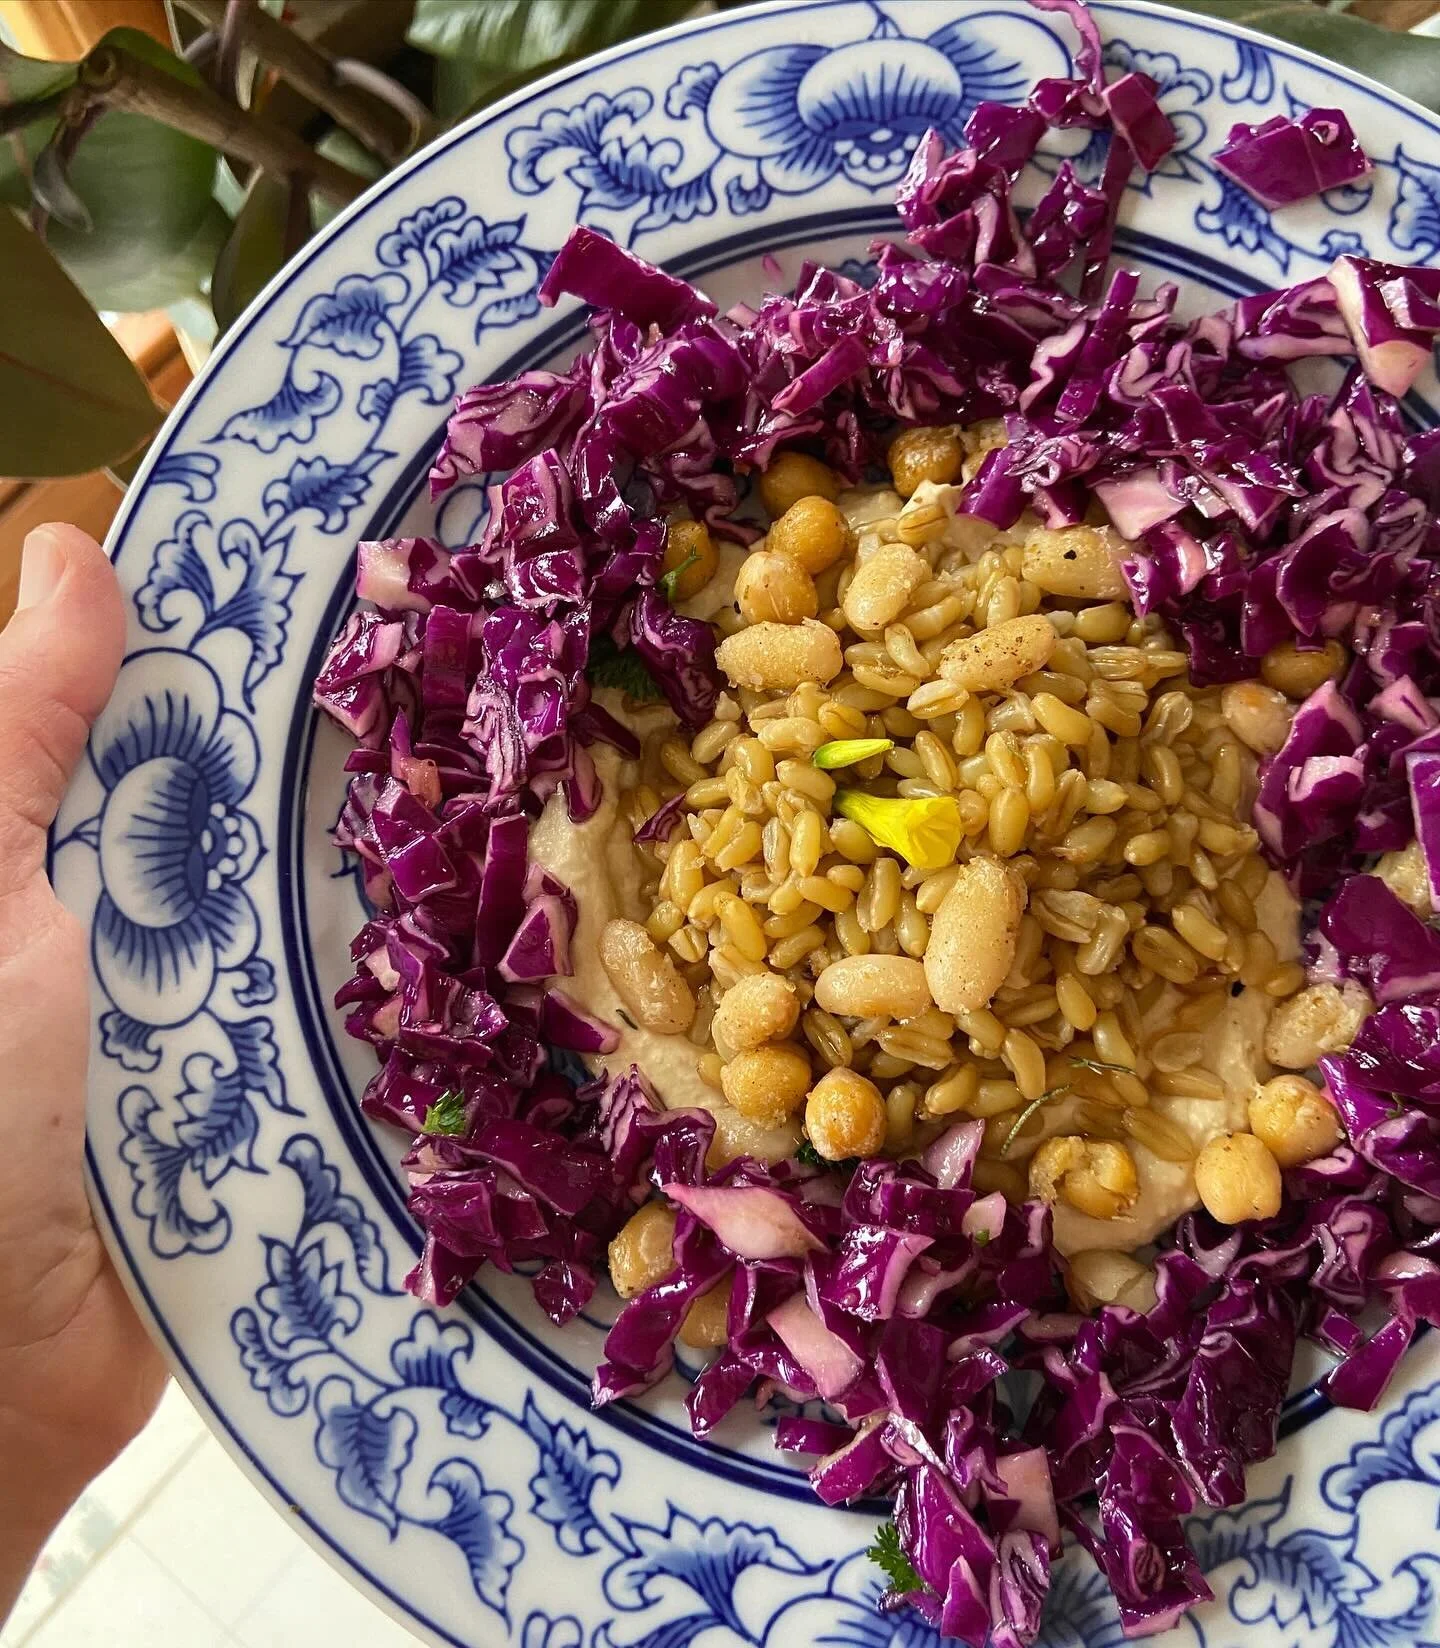
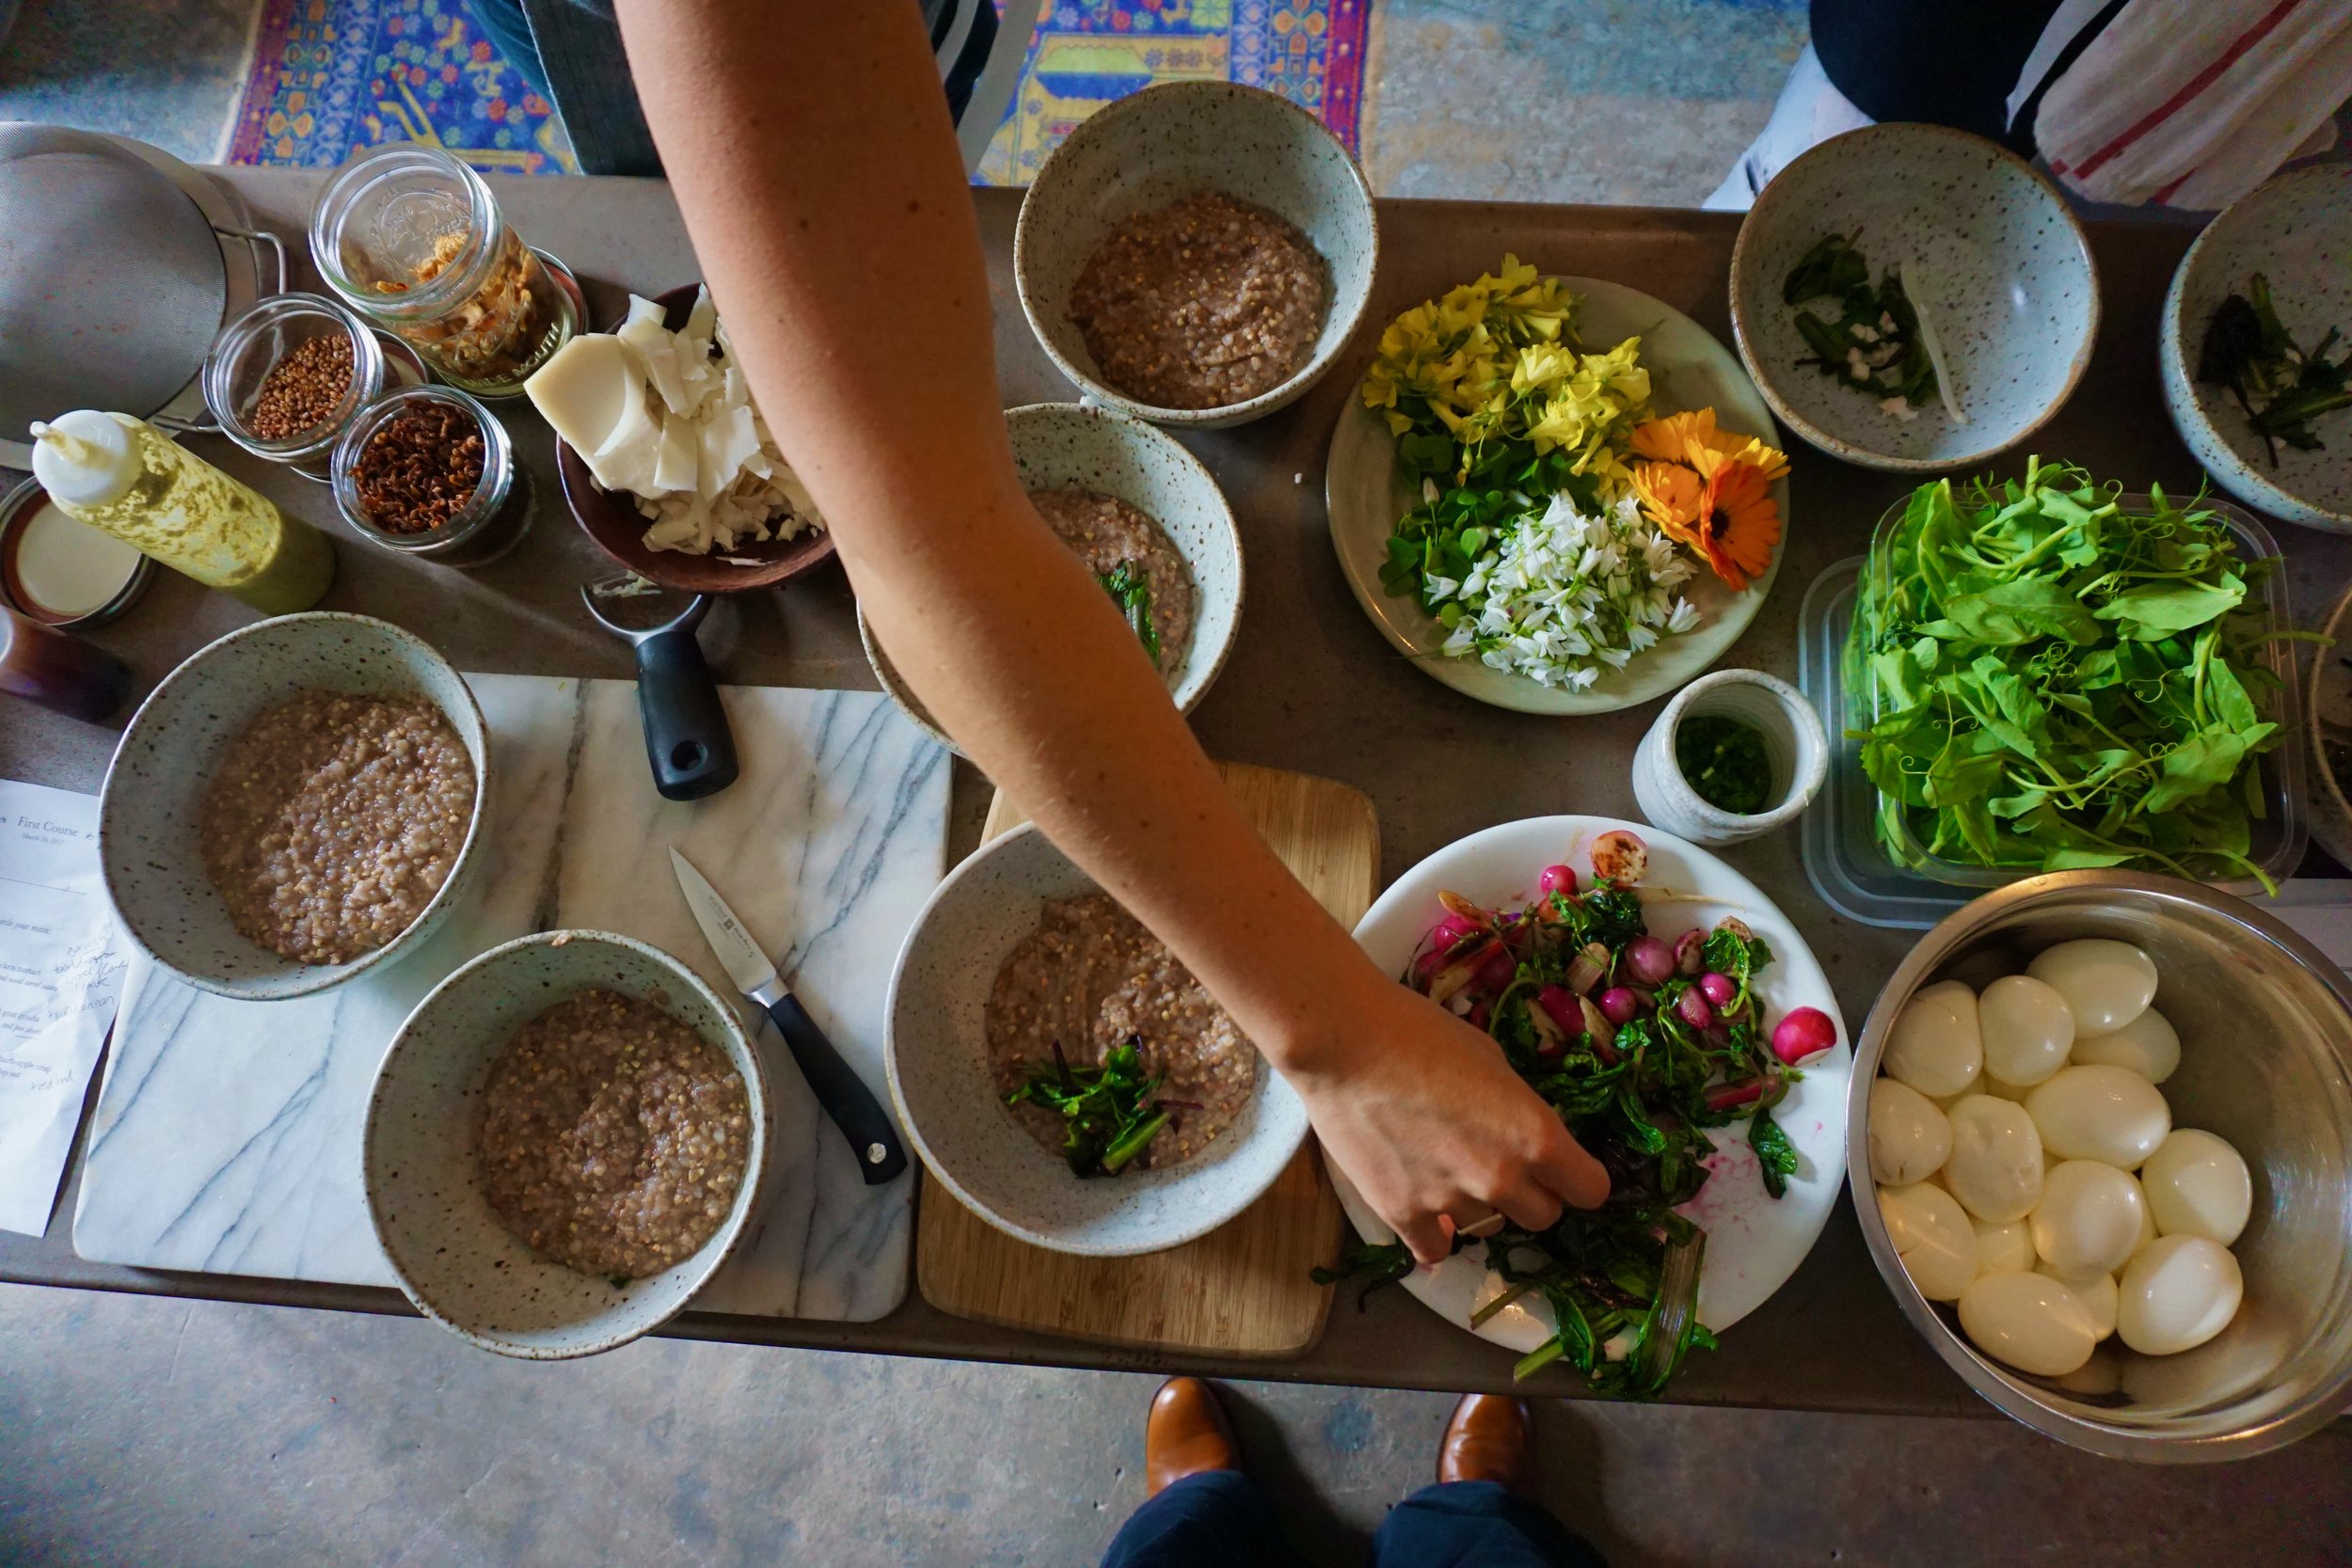
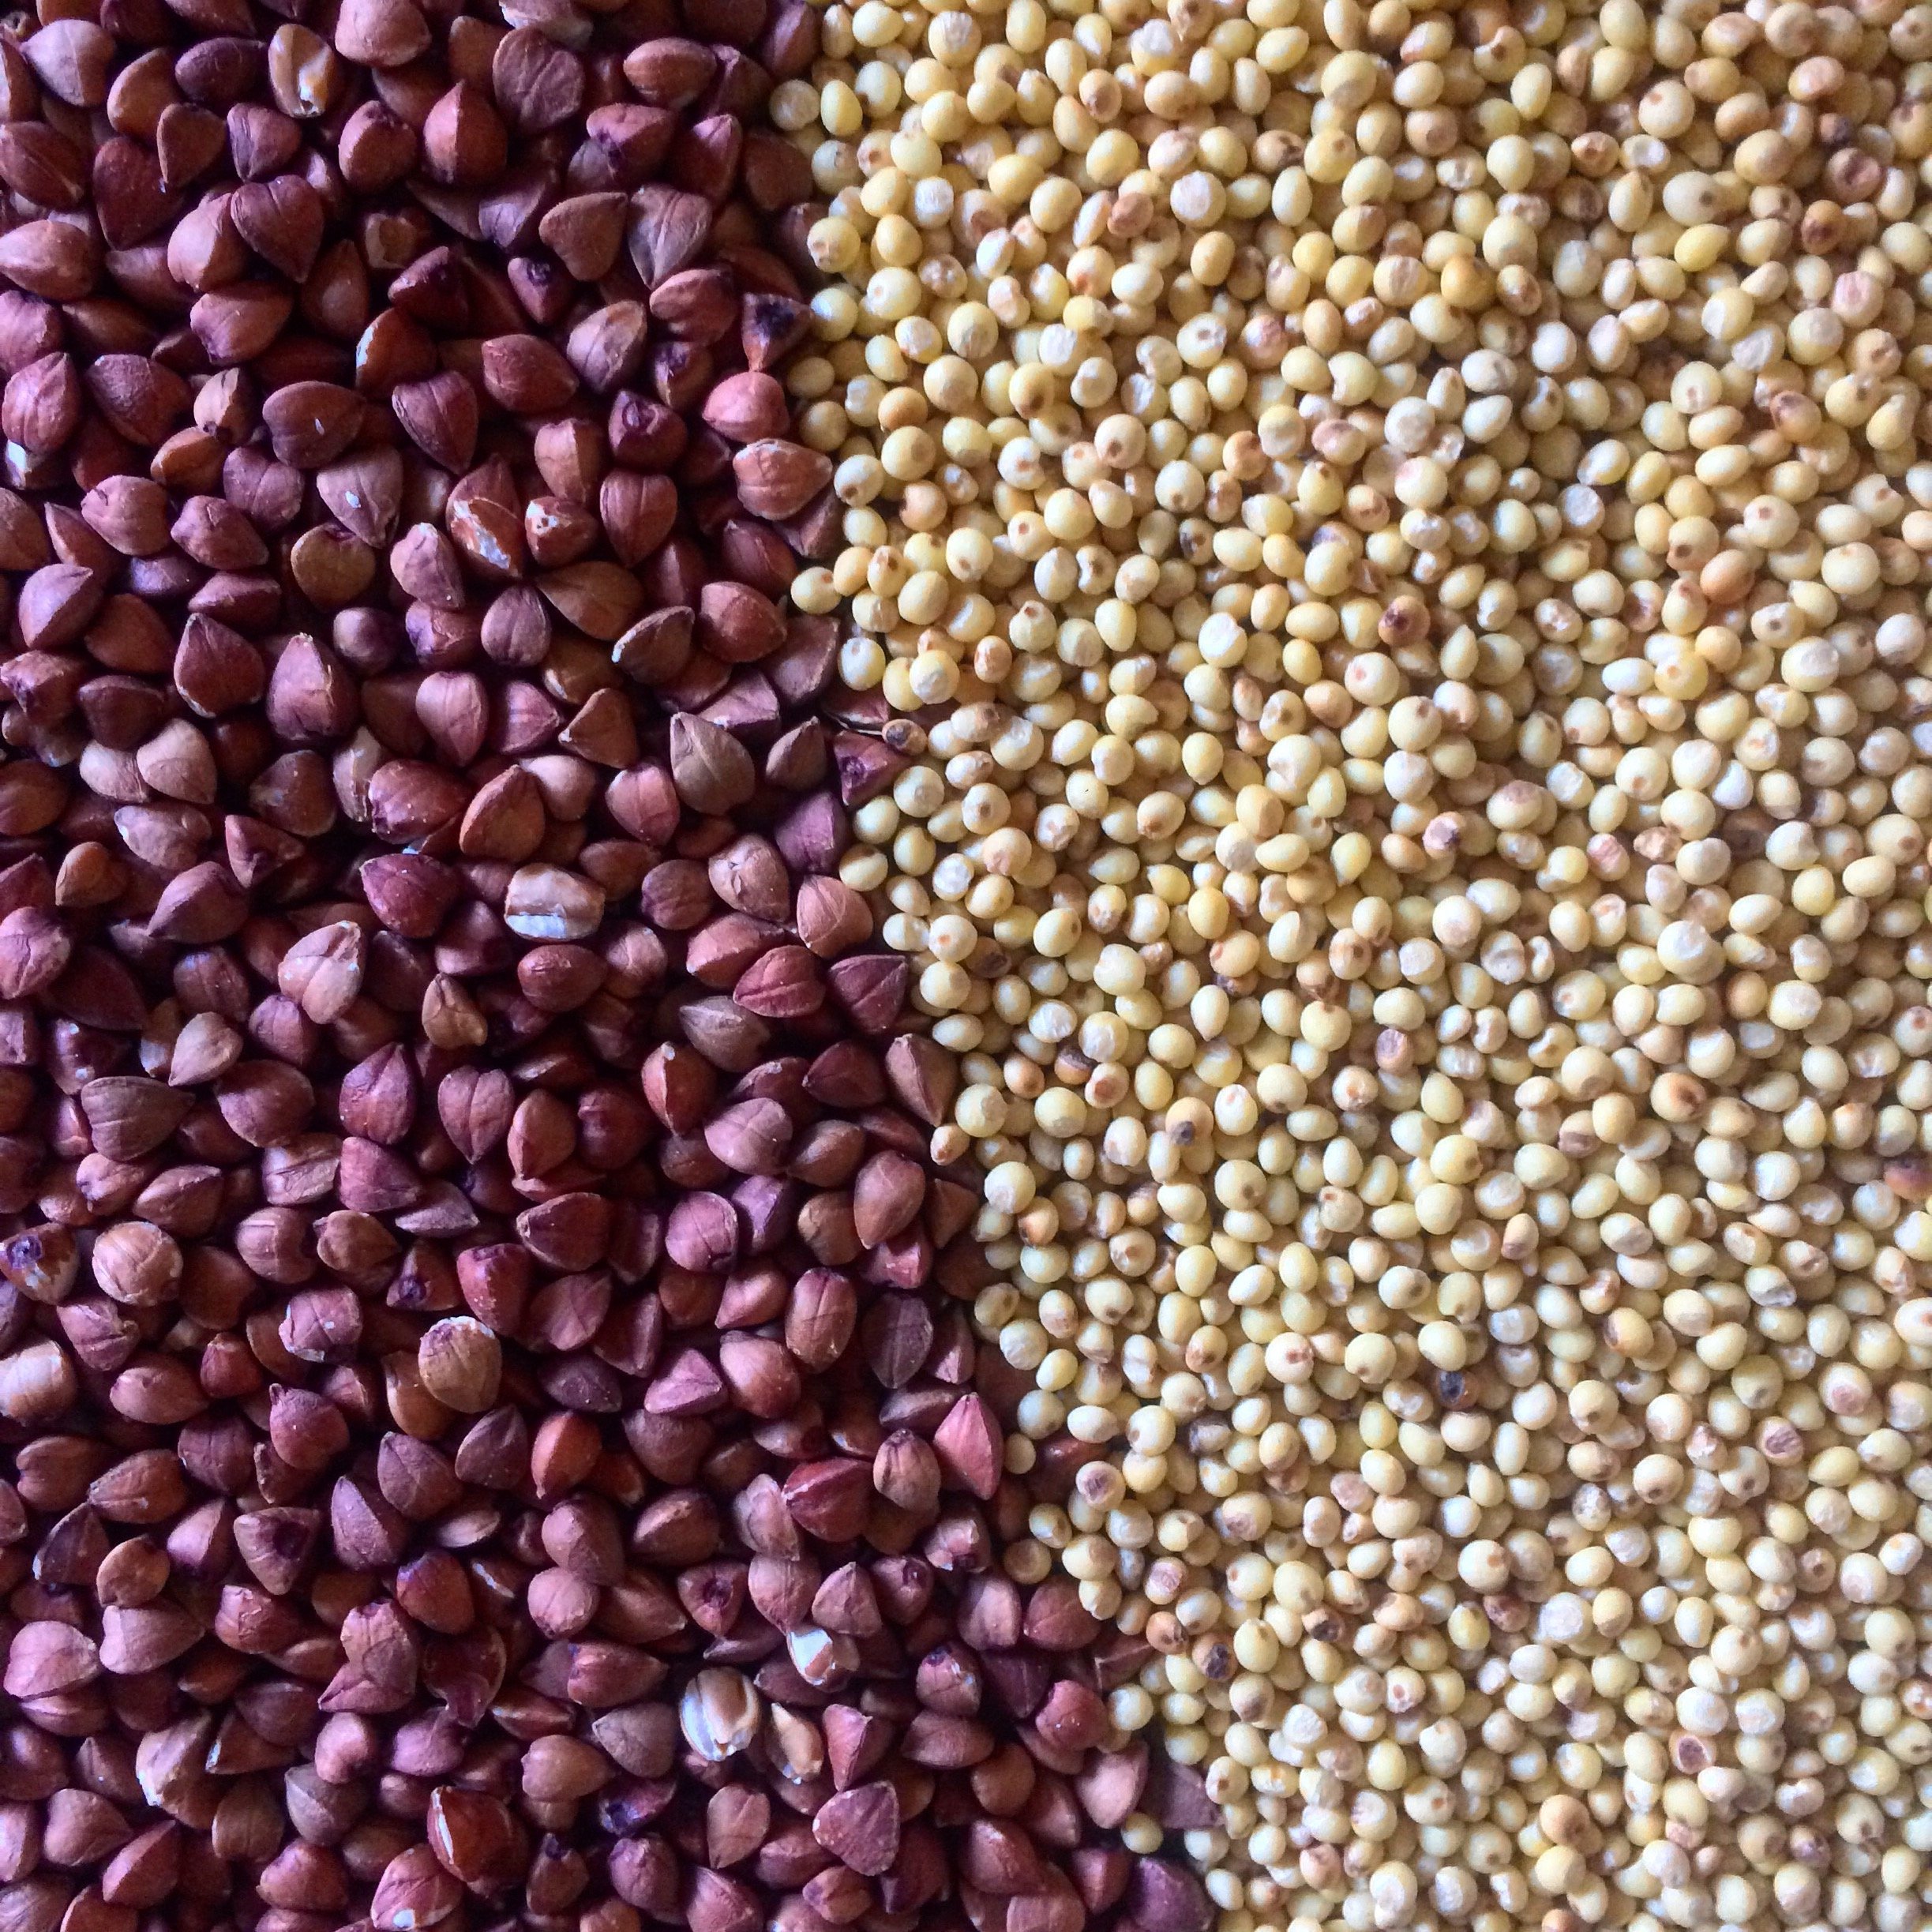
Plant-forward, nourishing, irresistible. Rooted in taste, biodiverse, wild, fermented. Bringing overlooked and underloved foods to the forefront.
-

Culture
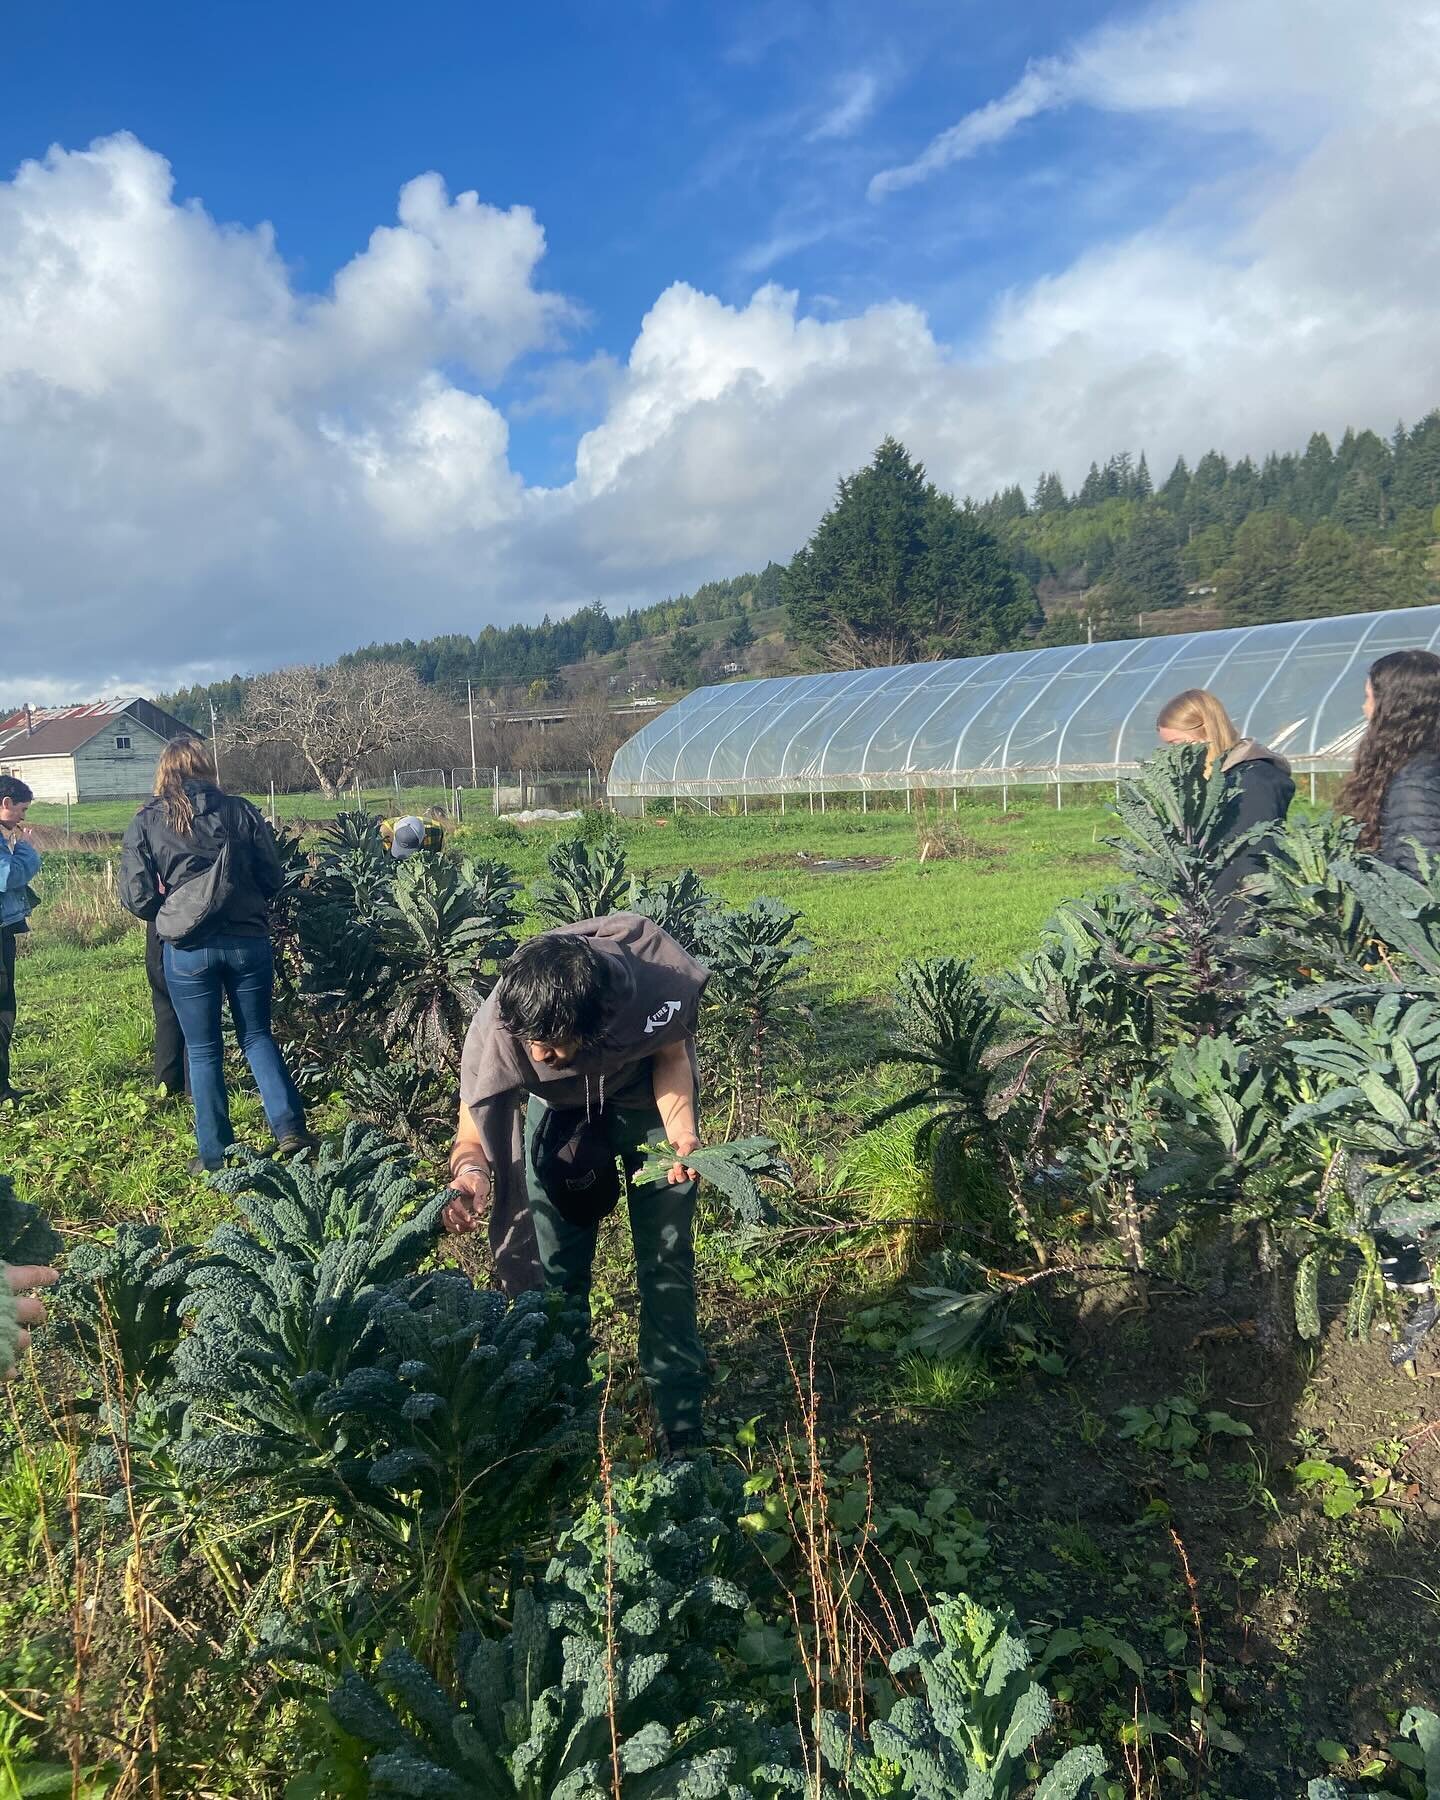
Traditional foodways across the globe are healthier and more sustainable than the Standard American Diet (it’s SAD). Celebrate and learn from our differences; embrace our similarities.
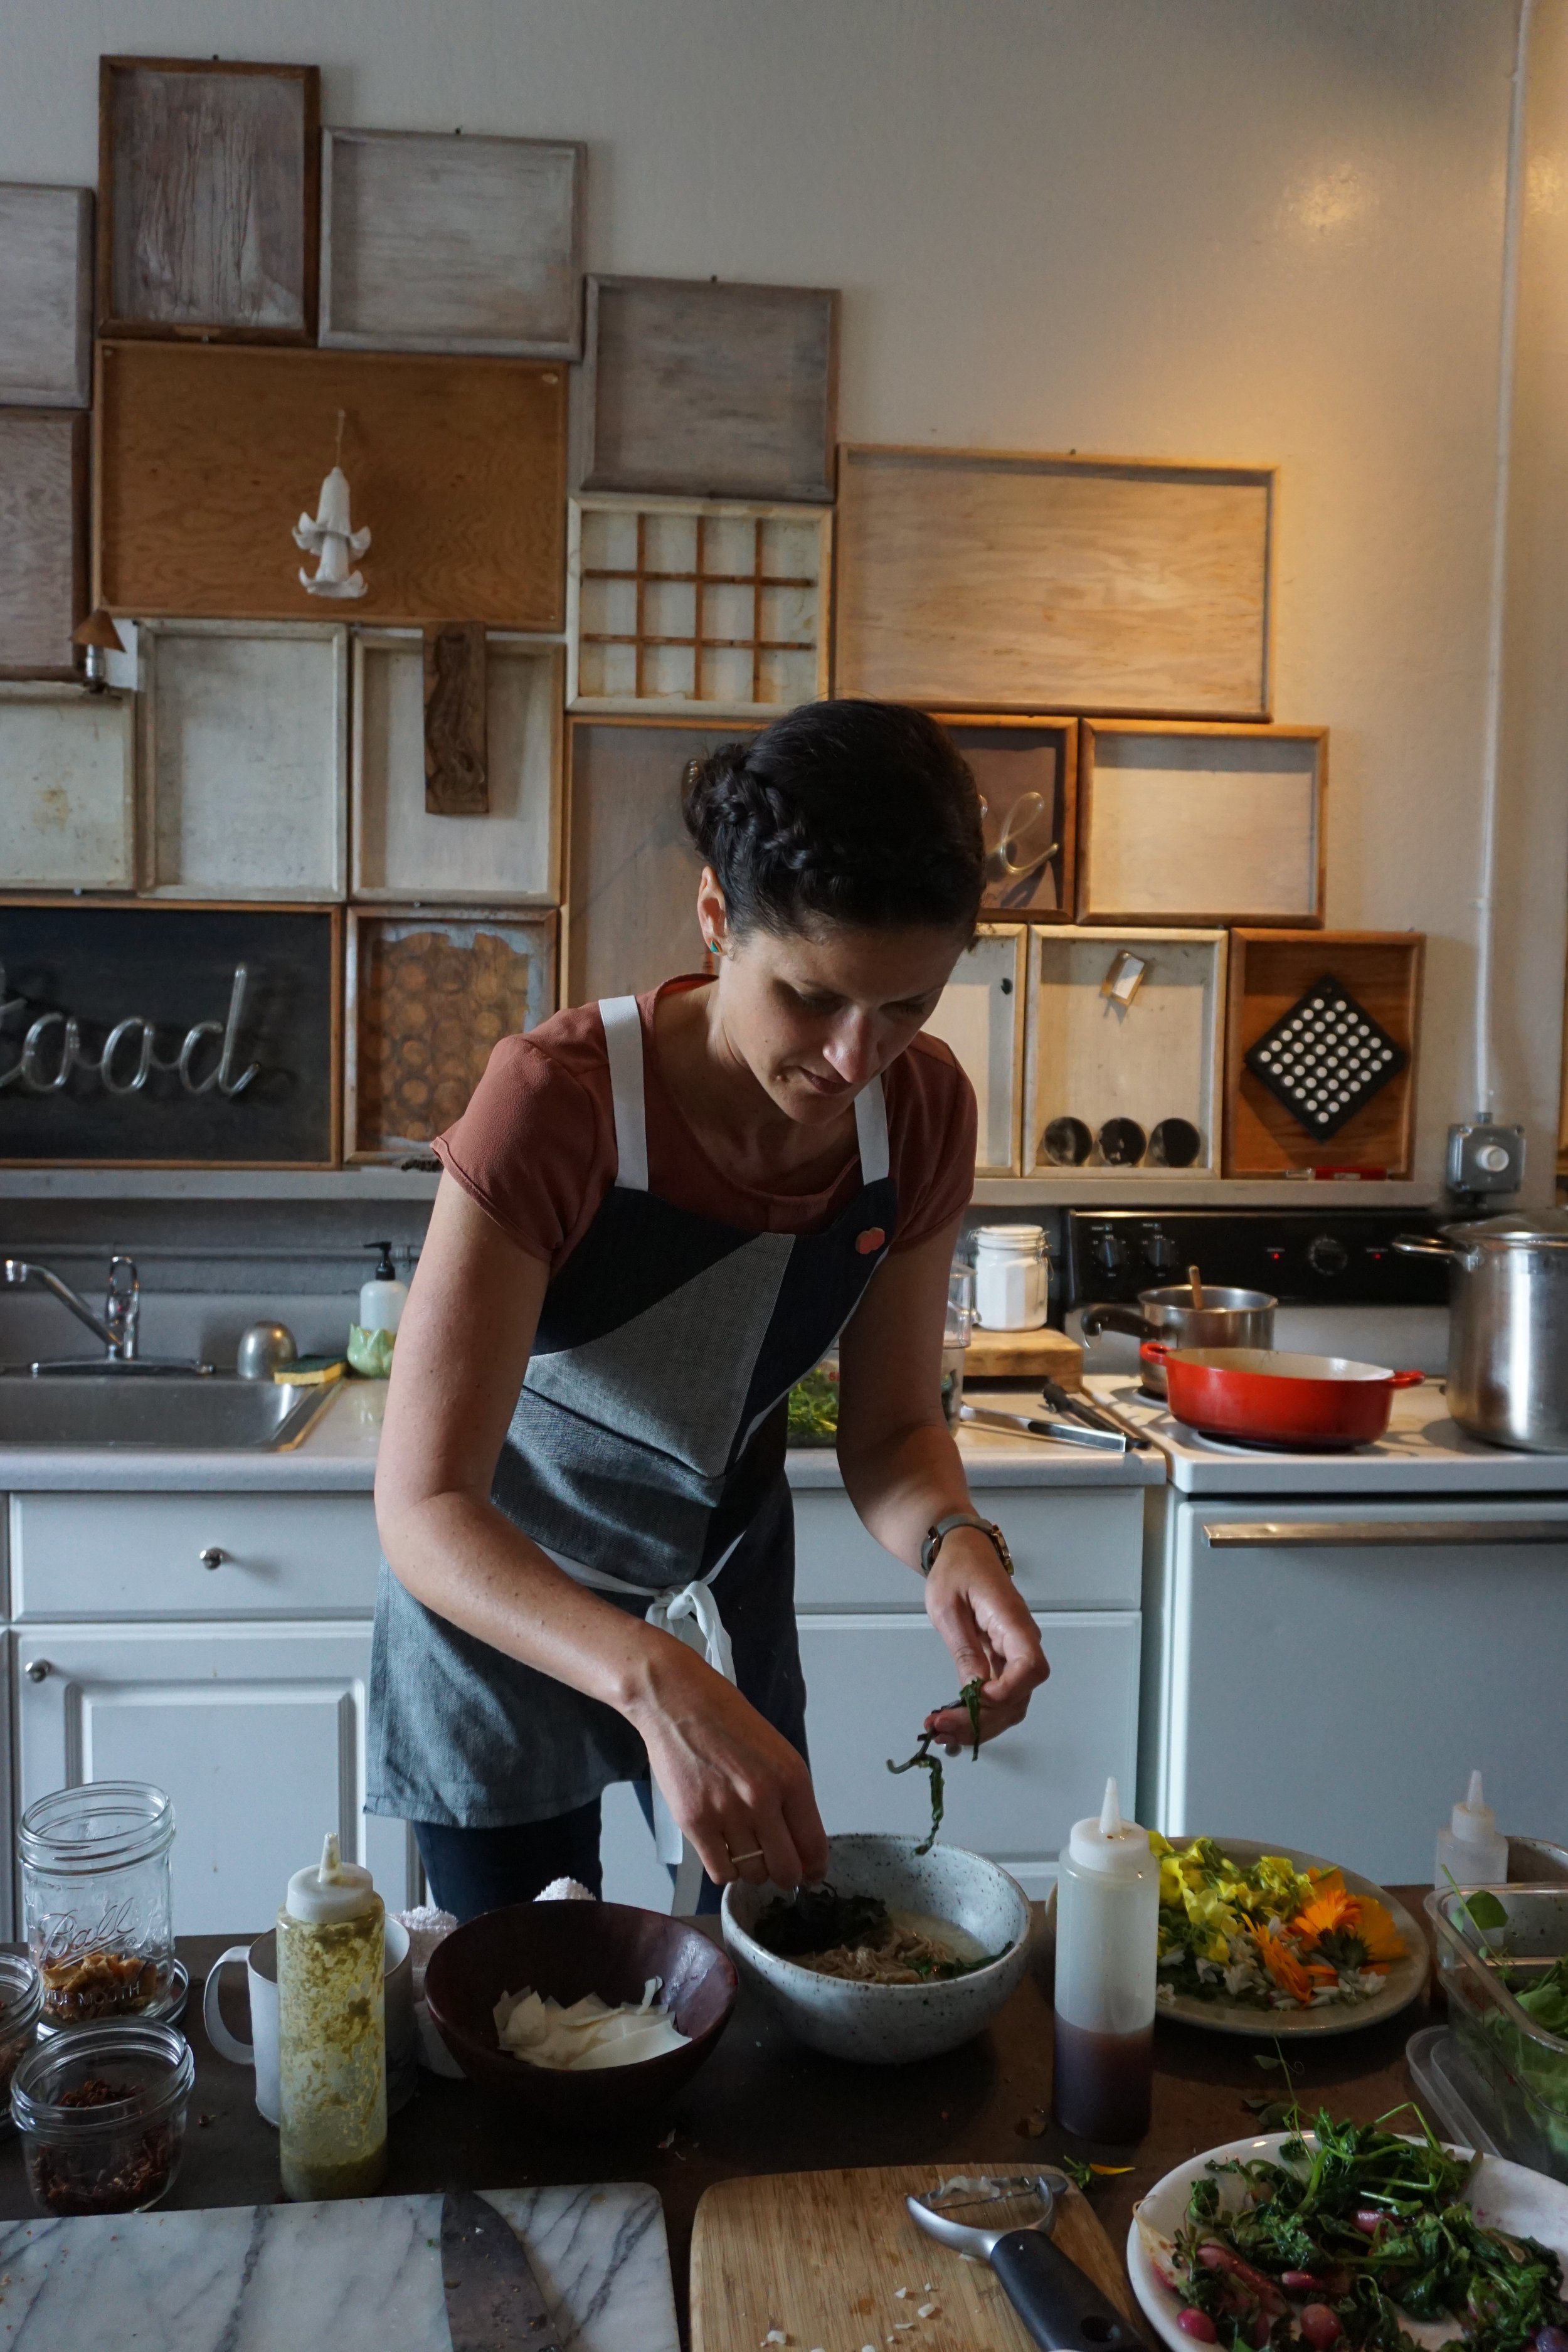
“THE ENVIRONMENTAL CHALLENGES THAT WE CURRENTLY FACE REQUIRE AN INTERDISCIPLINARY ‘UNICORN’, SOMEONE WITH NUTRITION, CULINARY, ACADEMIC, AND PRACTICAL SKILLS - I BELIEVE KRISTEN IS ONE OF THESE UNIQUE PEOPLE READY TO TACKLE THESE ISSUES.”
— David Eisenberg, MD, Director of Culinary Nutrition at the Harvard T.H. Chan School of Public Health
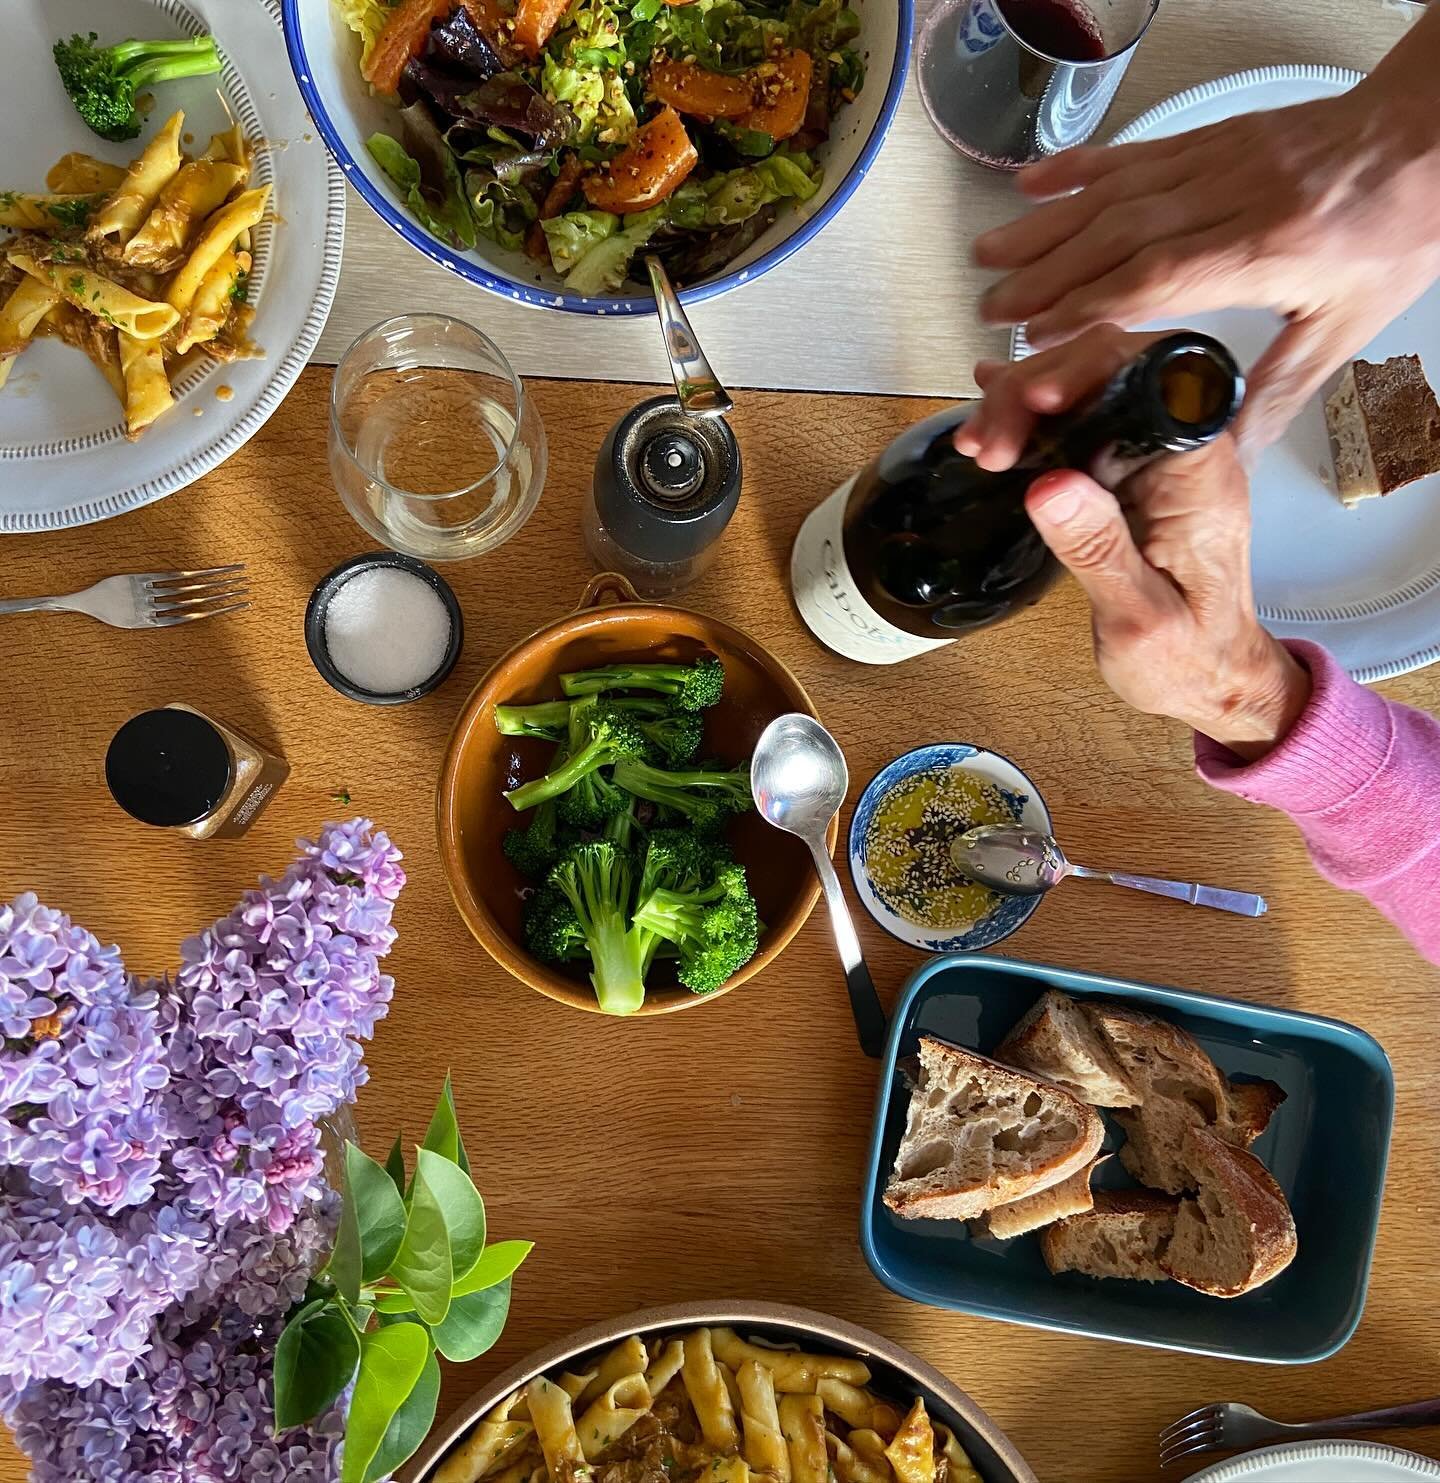
flavor forward to regenerate the health of people and planet
Life is short and food is central to enjoying life. By taking a looking to traditional foods and methods, with modern science and perspective, we can shift dietary patterns for the good of all.
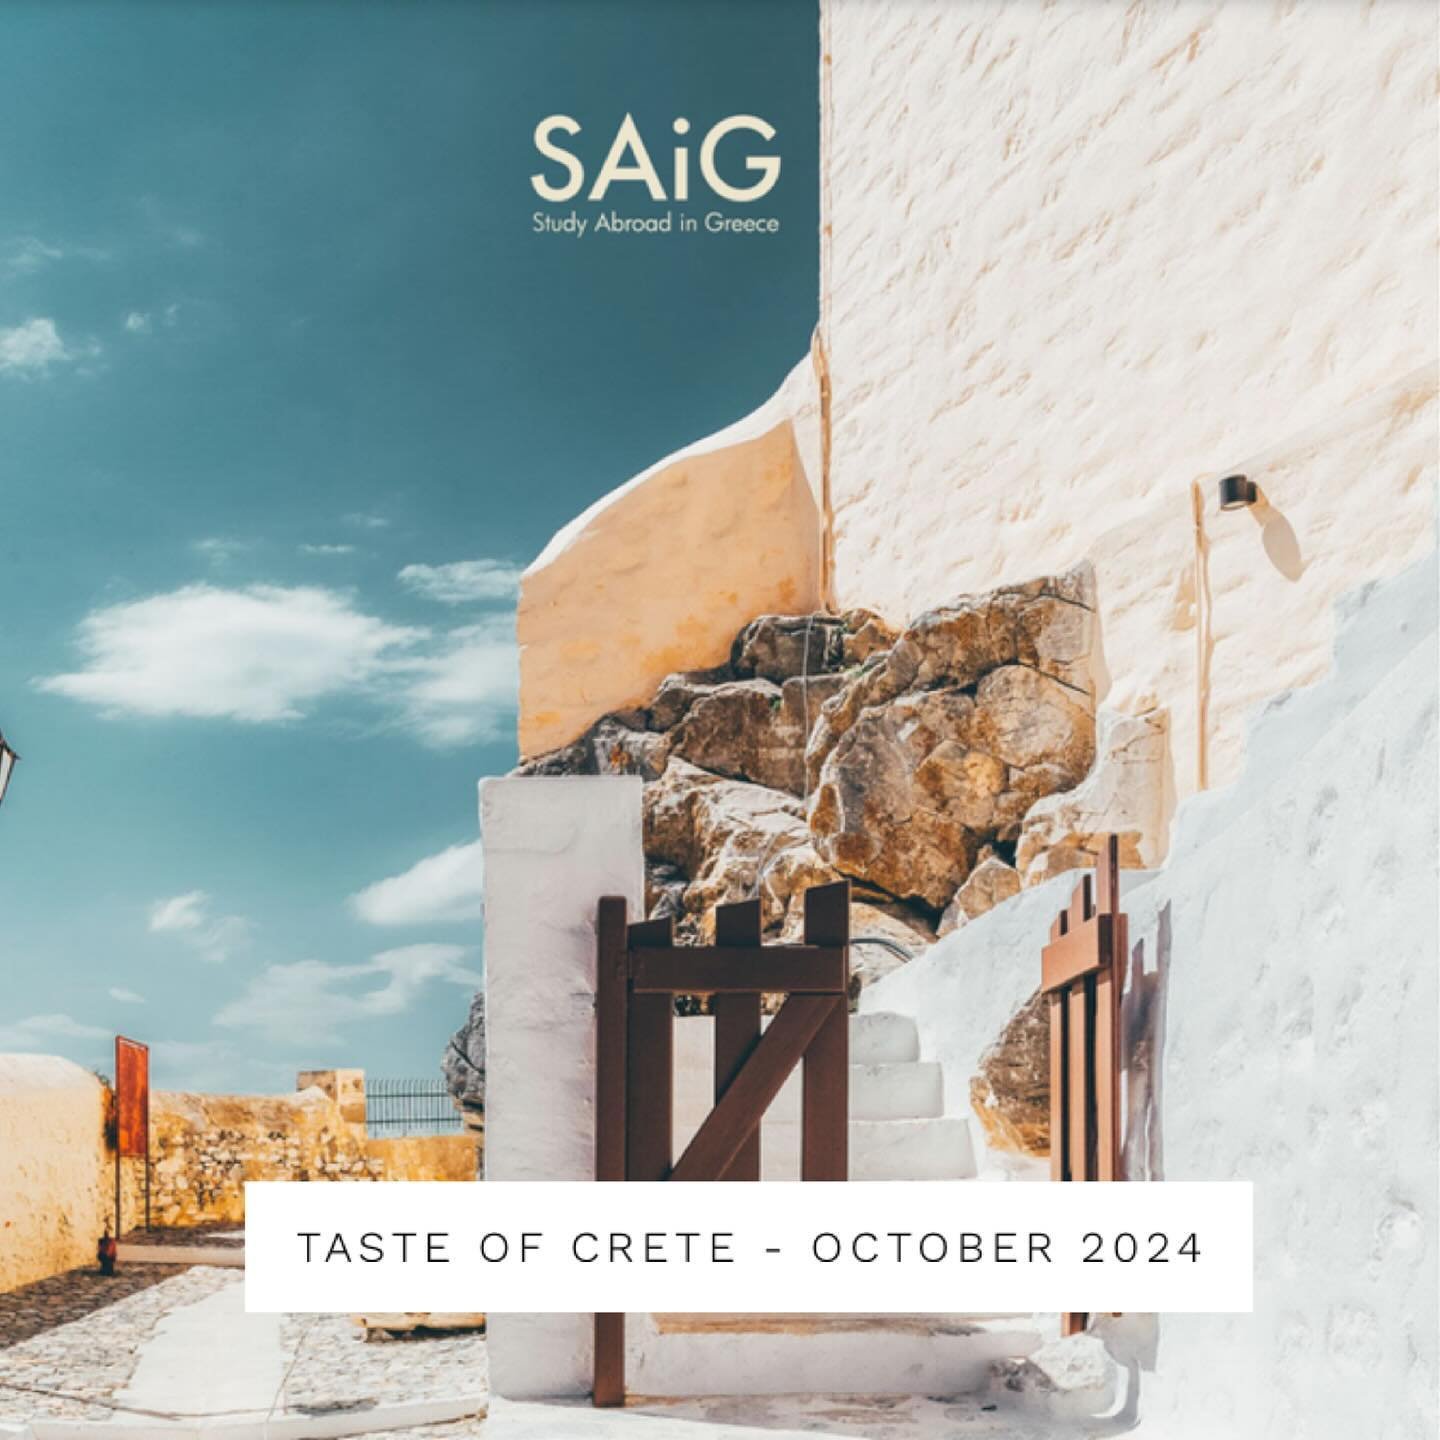
explorations